Hello What's up Family, Welcome to My Blog with Edho here.
How are you guys today? Hopefully fine of course.
Now i'm going to show you [ TUTORIAL ] How to Make a Splash Color Art in PicsArt Tutorial.
This is the Result


Next, you select the "Cutout" Tool.

Then do "Brush" correctly.

Then, click on "Tap to cut out" in the upper right corner.


Select Rainbow


Then, Remove a little part of the face to taste

If it is, please click the check mark.
Next, Click on the "Draw" tool.

Select "layer", then move the layer down.

Then choose white paint

Click on the menu in the top right corner and select Transform.

Set according to taste

Delete the bottom of the object as necessary.

Select the layer menu, then click on Empty layer

Then select the sticker from the menu below.

Search and select the "splash of color" sticker

Adjust the sticker according to taste.

For More details you can watch the following Video Tutorial [ TUTORIAL ] How to Make a Splash Color Art in PicsArt Tutorial.
Enough tutorials for [ TUTORIAL ] How to Make a Splash Color Art in PicsArt Tutorial for today may be useful for you all hopefully entertained. See you next article :)
How are you guys today? Hopefully fine of course.
Now i'm going to show you [ TUTORIAL ] How to Make a Splash Color Art in PicsArt Tutorial.
This is the Result

[ TUTORIAL ] How to Make a Splash Color Art in PicsArt Tutorial
First of all you must select the photos you want to edit into the PicsArt app.


Then do "Brush" correctly.

Then, click on "Tap to cut out" in the upper right corner.

Wait for it.

If it is, select the "Magic" Tool
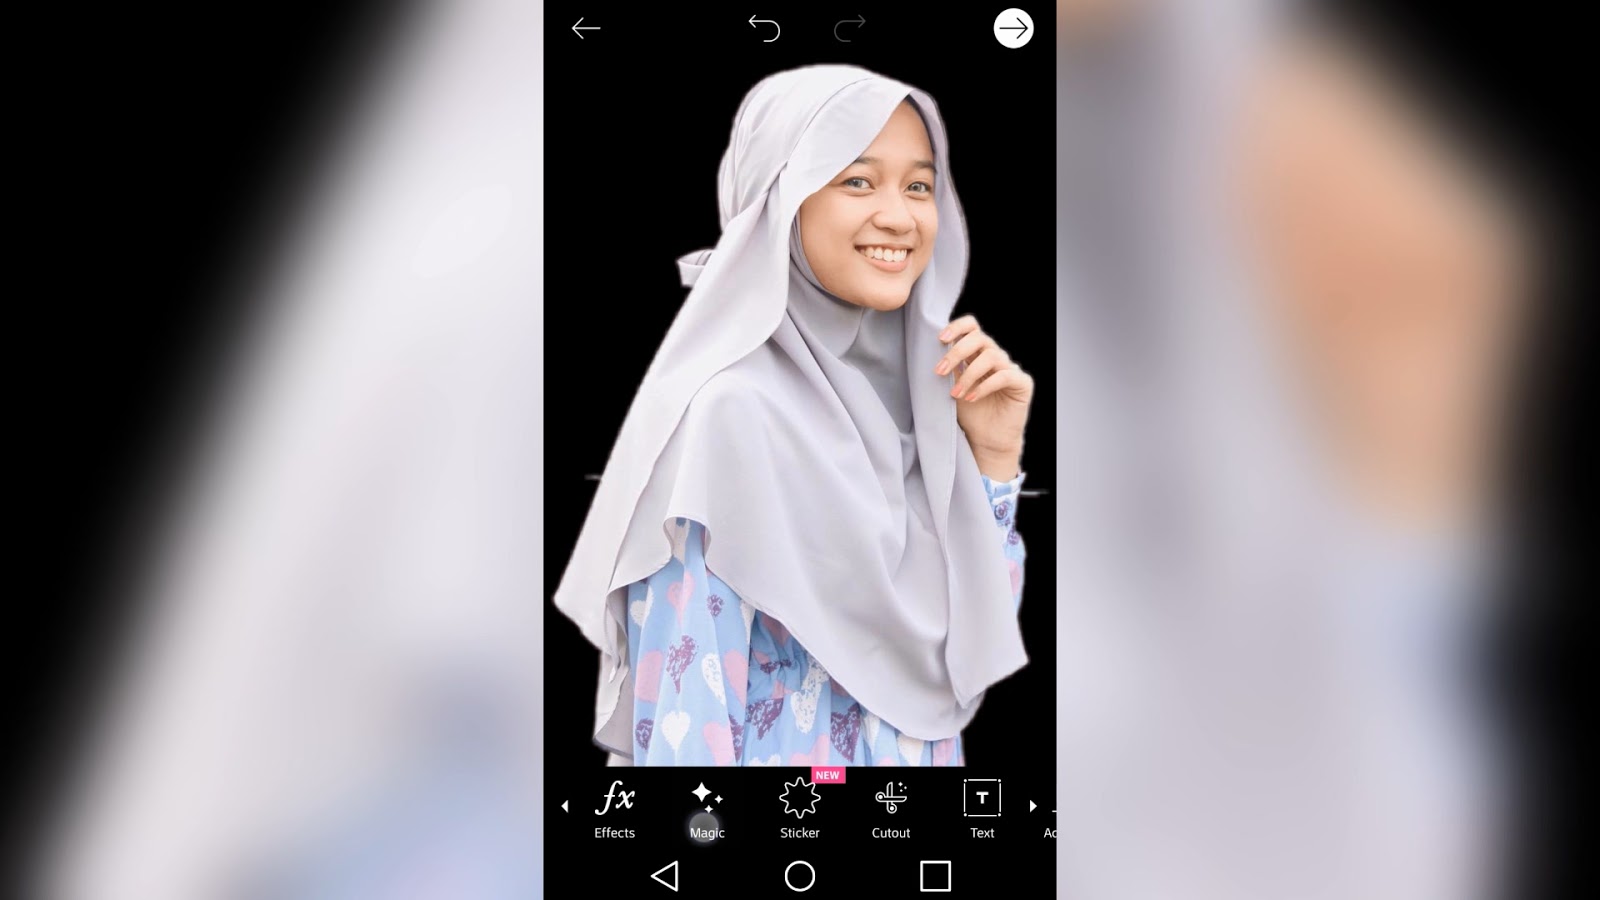

Reduce the fade part as necessary


If it is, please click the check mark.
Next, Click on the "Draw" tool.

Select "layer", then move the layer down.

Then choose white paint

Click on the menu in the top right corner and select Transform.

Set according to taste

Delete the bottom of the object as necessary.

Select the layer menu, then click on Empty layer

Then select the sticker from the menu below.

Search and select the "splash of color" sticker

Adjust the sticker according to taste.

For More details you can watch the following Video Tutorial [ TUTORIAL ] How to Make a Splash Color Art in PicsArt Tutorial.
Enough tutorials for [ TUTORIAL ] How to Make a Splash Color Art in PicsArt Tutorial for today may be useful for you all hopefully entertained. See you next article :)
